
When you're busy with children, it's handy when tasks can be completed in no time at all – such as putting on shoes. This is where the BOA closure comes in: a simple twist allows you to put shoes on and take them off quickly, while providing a secure fit and robust weather resistance.
This guide shows you step by step what makes the BOA® closure so special and how BOA® shoes can be repaired if necessary.
BOA® Fit System
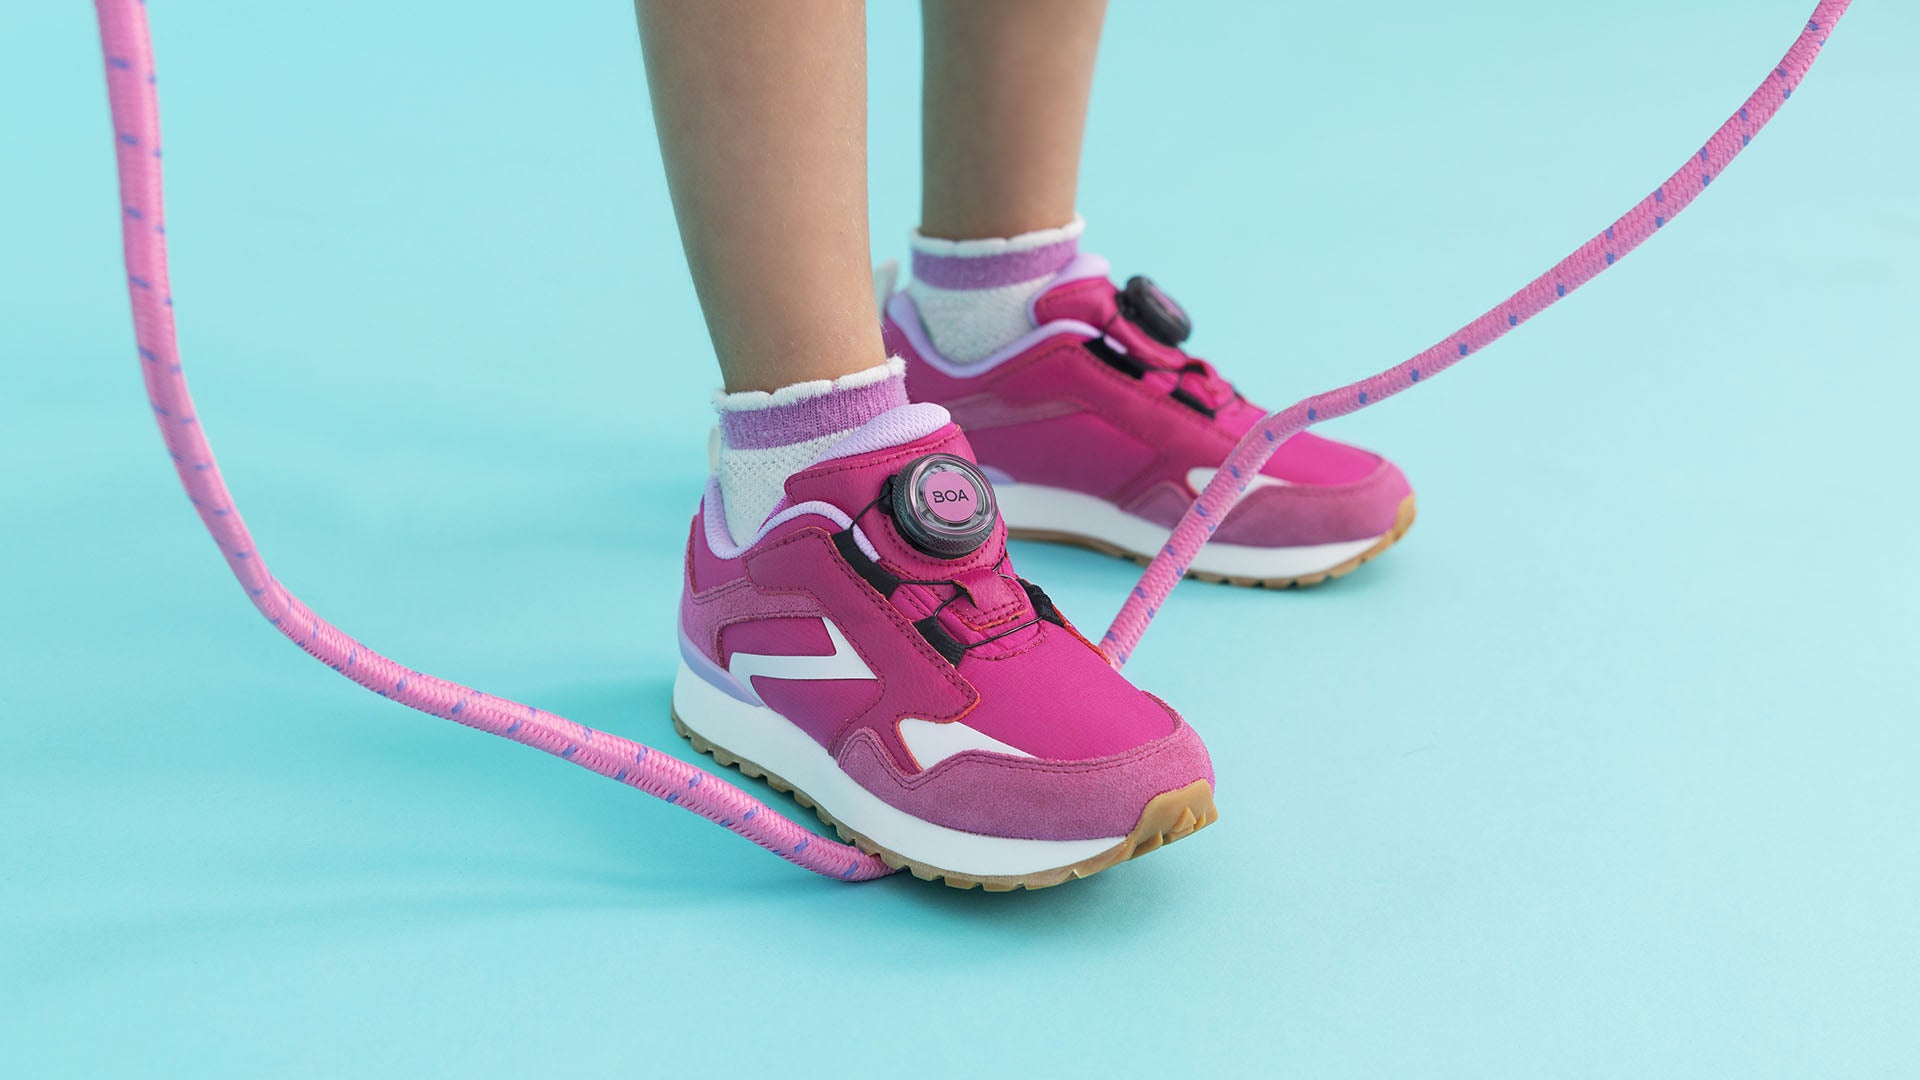
The BOA® Fit System is an ingenious dial system from BOA Technology Inc that laces kid's shoes easily and securely with just one turning motion. This precise adjustable system offers a custom-fit fastening option for shoes. It consists of the so-called “dial”, which is turned to tighten or loosen the heavy-duty lace, as well as a lace guide.
Opening and closing the BOA fastener
To open the BOA dial, you simply pull it upwards. To close it, push it downwards and turn it clockwise until the shoe is securely fastened.
This video shows how it works:
We would like to point out that by activating the video you agree to the data transmission to Google/YouTube.
BOA fastener for kids' shoes
The BOA system for kids' shoes is very popular because it is an advanced system that is revolutionising the usual method for tying shoes. Instead of tying loops, the dial makes it easy for you and your child to fasten their shoes.
Other advantages of the BOA fastener for kids' shoes:
- Easy to use: Children can easily put on and take off their BOA shoes themselves. A quick turn of the dial – it’s even possible just using one hand.
- Precise adjustment: The system allows the shoes to be adjusted with millimetre precision. The lace can be quickly tightened or loosened for a perfect fit.
- Robust and weather-resistant: Unlike conventional laces, BOA fasteners are very robust and weather-resistant. They don’t expand, even in wet weather.
- Favourite among children: The combination of a cool design and great functionality makes the BOA fastener especially popular with older children. It provides a stylish alternative to conventional laces.
- Saves time: The BOA fastener is particularly ideal for impatient kids. The shoes are put on in no time – and children are instantly ready for new adventures.
- Versatile use: At superfit, BOA fasteners are primarily used in athletic sneakers and functional winter boots, providing a broad selection for various activities.
BOA fastener variants for kids' shoes
In most cases, an L6 fastener (low-power 6th generation) is integrated directly in the tongue of kids' shoes. This dial is notable for its excellent grip, is easy to operate even when wearing gloves, and is extremely durable. This makes it the ideal choice for kids' shoes.
Repairing the BOA fastener
Frequent use of the BOA Fit fastener may result in signs of wear and tear that necessitate a repair. The lace could snap or the cap of the dial could be lost. You can obtain a free repair kit both directly from the BOA website and from specialised retailers. This allows you to conveniently repair the BOA dial yourself as long as the damage is to the dial or the lace. However, please note that damage to other parts of the shoe, such as seams, sole, outer material, and tread, cannot be repaired with this set.
Step-by-step instructions for repairing a BOA system
Once you have all the right spare parts, follow these instructions:

Step 1:
Depending on the part of the system that is to be replaced, first open the dial of the BOA Fit System.

Step 2:
Then use the tool provided to pry the dial upwards and remove it.

Step 3:
If the lace is to be replaced, it can now be removed from the guide and disposed of.

Step 4:
Now a new lace can be threaded in from below.

Step 5:
The lace should then be shortened to the suitable length, preferably using wire cutters. There should be about 10-12 cm of lace extending from each side of the fastener. If the old lace is still intact, you can also use its length as a guide before threading in the new lace.

Step 6:
Before installing the (new) dial, it must be closed by applying pressure until you hear an audible “click”.

Step 7:
Align the two arrows on the back of the dial so that they are pointing towards each other.

Step 8:
Turn the dial back to the position in which it should be on the shoe. The lace extending from each side is then threaded through the dial from above.

Caution! The laces should not cross over one another.

Step 9:
Tie the end of the lace on each side with a simple knot.

Step 10:
Use the enclosed tool to tighten the knot again.

Step 11:
Now cut off the excess lace beyond the knot (knot tail) so that a maximum of 4-7 mm remains.

Step 12:
Pull the lace back through the dial so that the end is under the dial and no longer visible outside of it.
Step 13:
Repeat the steps in step 11 for the other side of the lace.

Step 14:
Make sure that the knots are completely hidden in the dial. Otherwise, you will have to open the dial and redo the lace again.

Step 15:
Push the dial into the mount on the shoe until you hear a “click”.
You're done!
Please note that the exact steps may vary depending on the specific BOA model and the part being repaired.
Retrofitting the BOA fastener
Can the BOA fastener be retrofitted? No, unfortunately the BOA® Fit System cannot be retrofitted to a shoe.
superfit kids' shoes with BOA fastener
Discover our shoes with BOA fasteners and cool designs – from athletic sneakers to functional boots.


 Fast delivery
 Free return shipping
 Directly from manufacturer